5 Hole Case Bound Pamphlet Stitch
I wanted my final design to be sleek and professional looking so I decided on a hard back cover with a wrap around dust jacket front cover. The pamphlet stitch usually consists of 3 holes in the fold which are stitched together to hold each page in place however I decided to use 5 holes in order for it to be more secure as the first hard back pamphlet stitch I made was a lot smaller and turned out loose. As my book was A5 I wanted it to be as secure as possible.
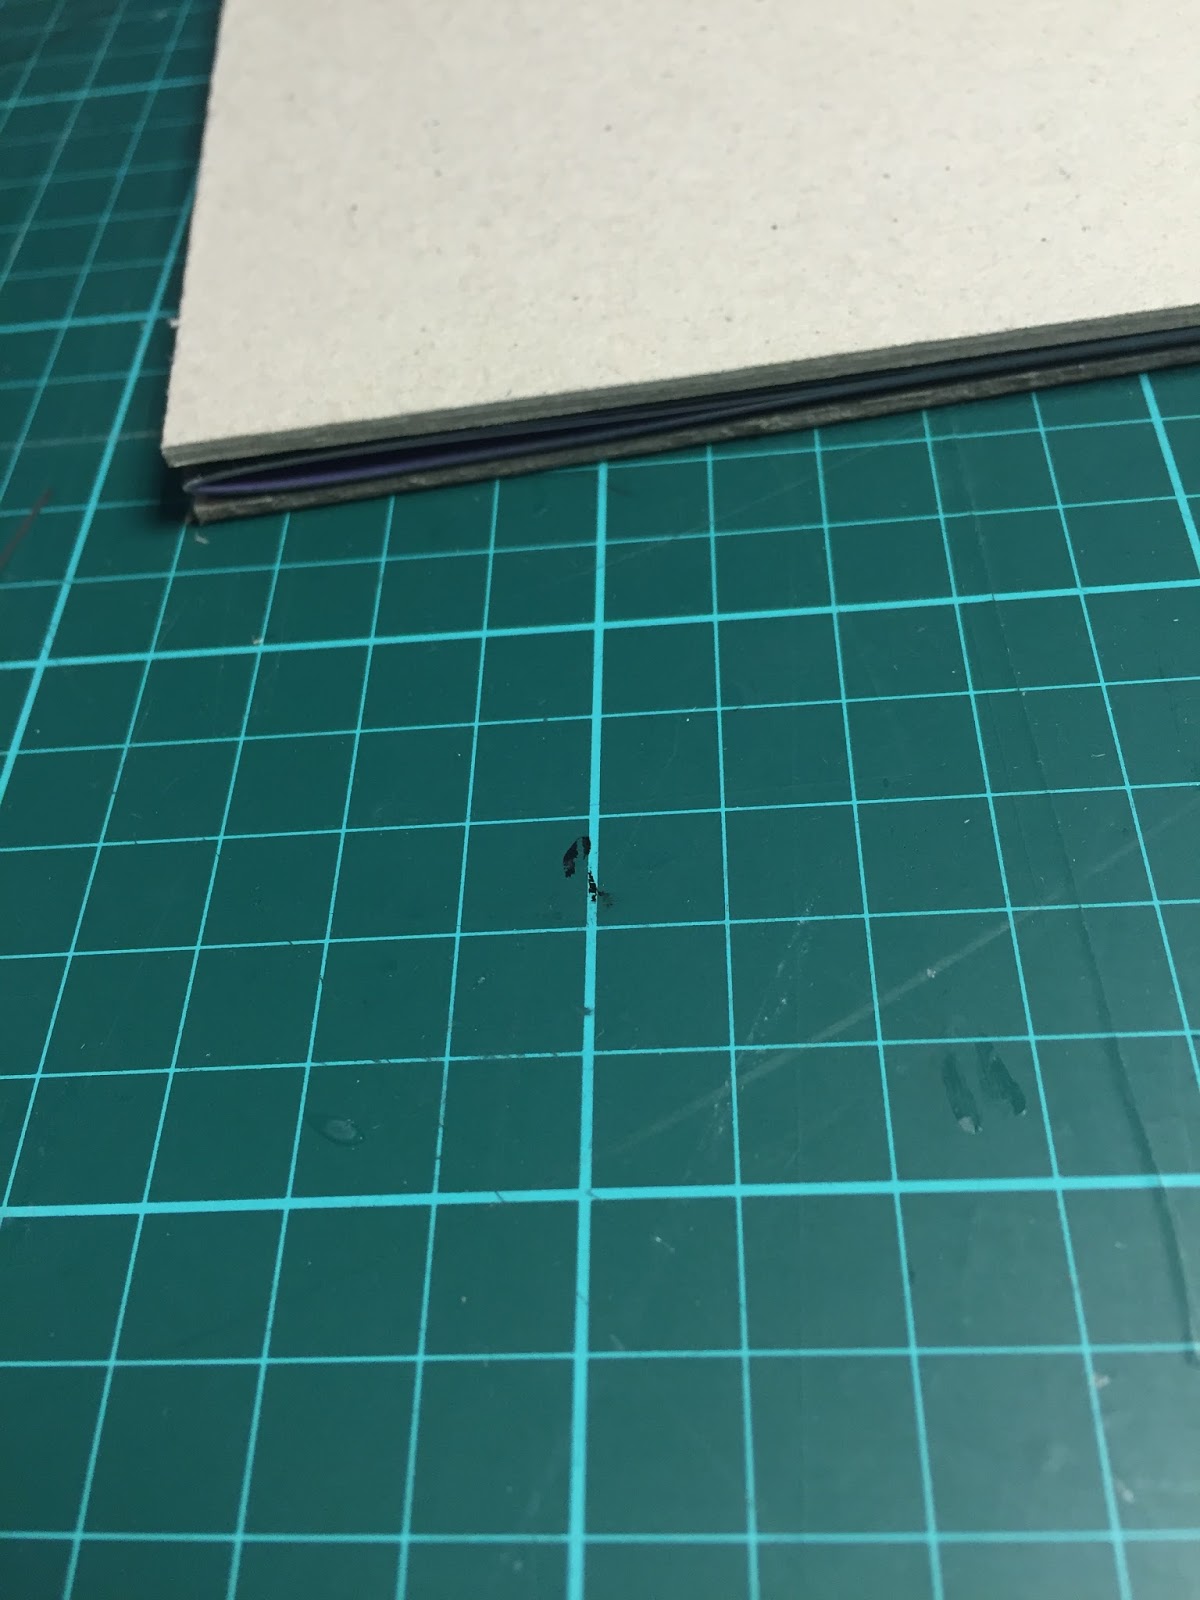
I started by measuring out the middle of my pages and piercing a hole through, then at each edge of the page and then again in the centre of the middle and the edge so I was left with 5 even holes across the pages.


Next I cropped a sheet of black card the same size of my pages folded on each side of the first and last page. I decided to use black as I wanted my cover design to be consistent throughout.


Next I cropped the excess bleed/white pages.


A gap was left.

Next tape was used to hold the board in place whilst I chose a black material to cover it. The dimensions of the mount board was then drawn onto the reverse of the black fabric and then stuck down using PVA glue.


The outside was scored to create the shape and then cut out leaving a rulers width of material all around. The corners were then sliced leaving a tiny gap in order for the mount board not to be visible. PVA was then placed around these edges and then as they were stuck down on the inside of the board.


The black card pages stuck prior to this were then carefully stuck in place on the board.
And finally the book was placed into a larger presser.


I then measured around the book to ensure the dust jacket/ cover was the correct size and then printed it.
I cropped and cored the book jacket and wrapped it around my book. In the process of this a couple of things went wrong which I will state in my evaluation.


I have never seen anything so beautiful than this. luton valet parking
ReplyDeleteI really praise your work. You have done a splendid thing.
ReplyDeletegatwick meet and greet
This is very secure and adorable work. meet & greet luton airport
ReplyDelete